Setup
This procedure is about setting up the average time, measurement parameters and wireless uploading frequency and so on. Equipment and accessories needed: 1 x RS232 (male) to USB converter, 1 x RS232 female to female extension cable, a notebook/netbook with the node interface program installed in advance.
Step 1 of 16: Connect the male end of the converter to the extension cable, and the USB end to the notebook/netbook.
Step 2 of 16: Disconnect the RS232 male and female connectors of the battery box as shown below. In order to do so, turn the screws anti-clockwise. Then pick the male end and connect it to the female end of the extension cable.
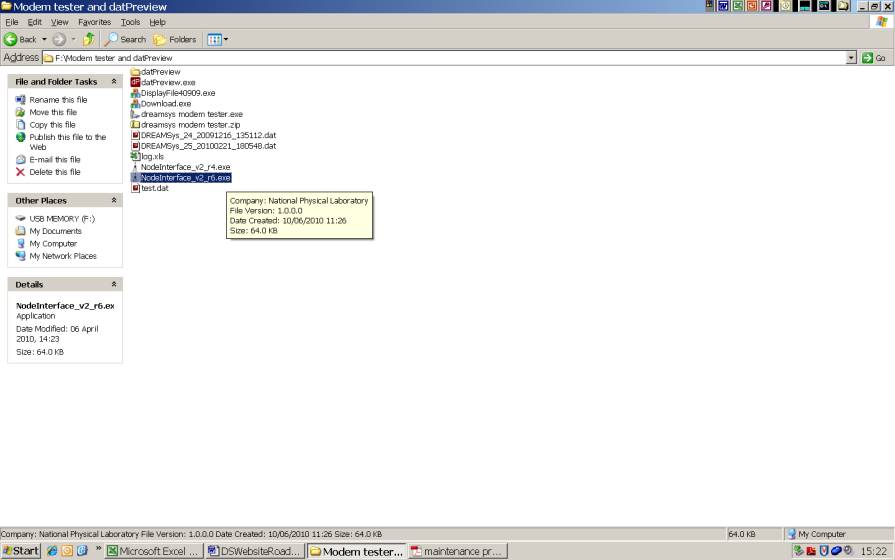
Step 3 of 16: Double click the specific icon to Run the program NodeInterface_v2_r6.exe as shown below.
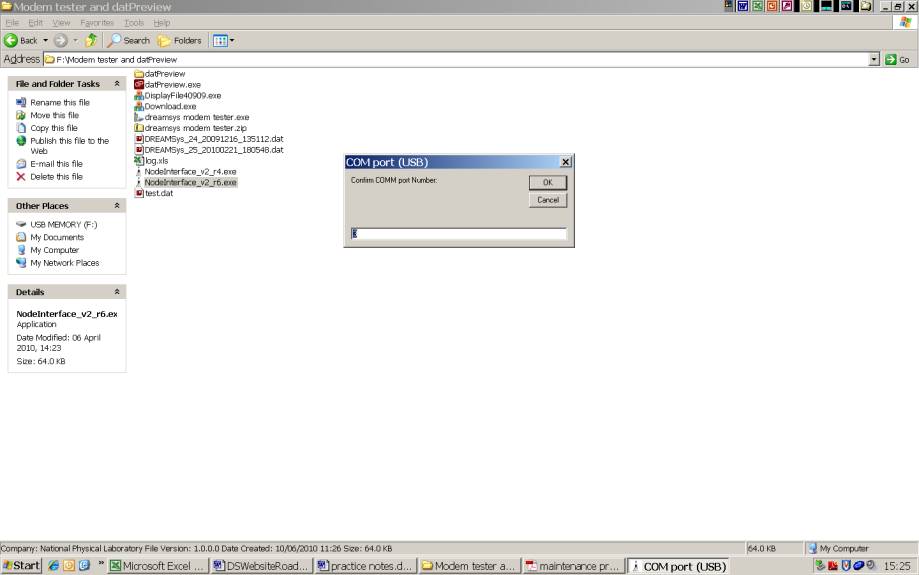
Step 4 of 16: A small windowwill pop up as shown below. Make sure the correct COM port is selected. Dependin gon the setting of the notebook/netbook, either COM1 or COM3 is the default. Click 'OK' to continue.
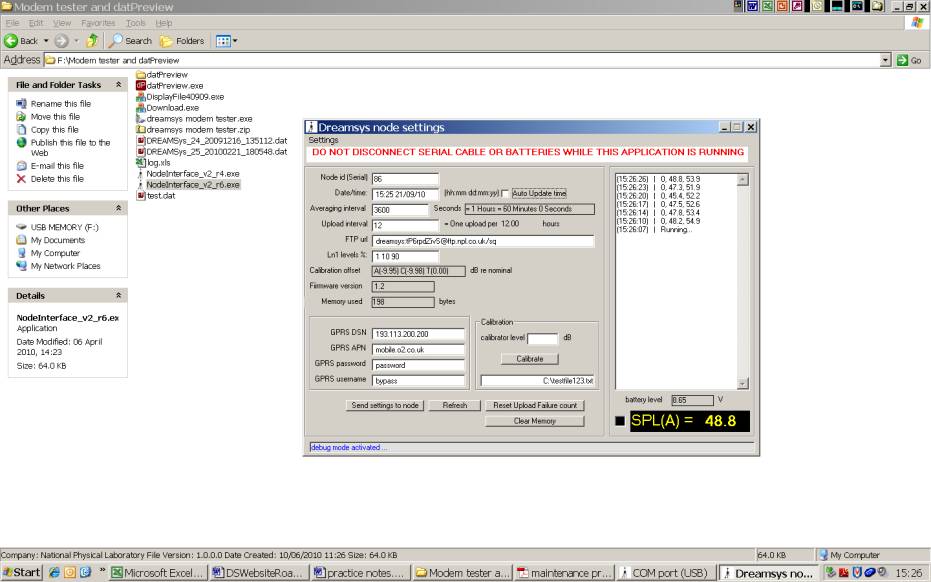
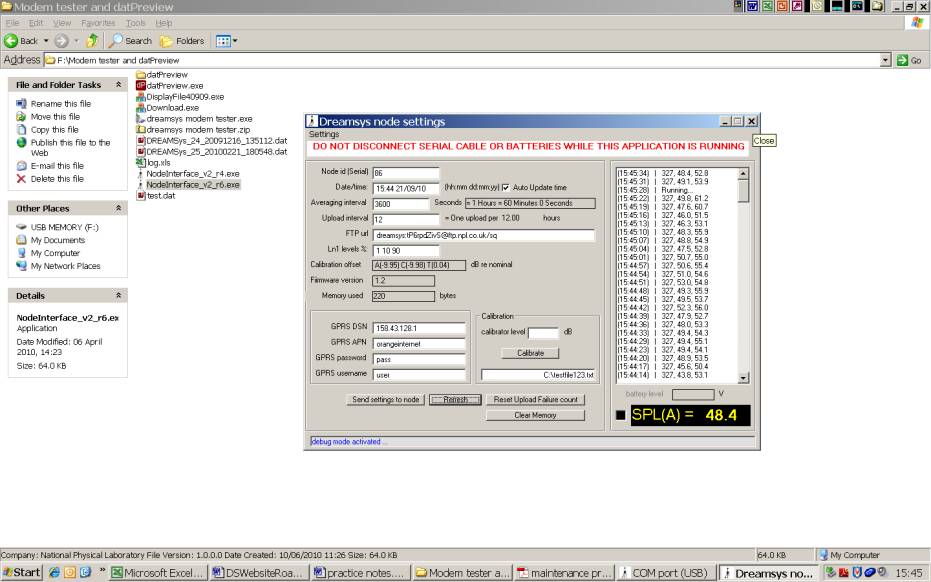
Step 5 of 16: When the connection is established successfully, a new window will pop up as shown below.
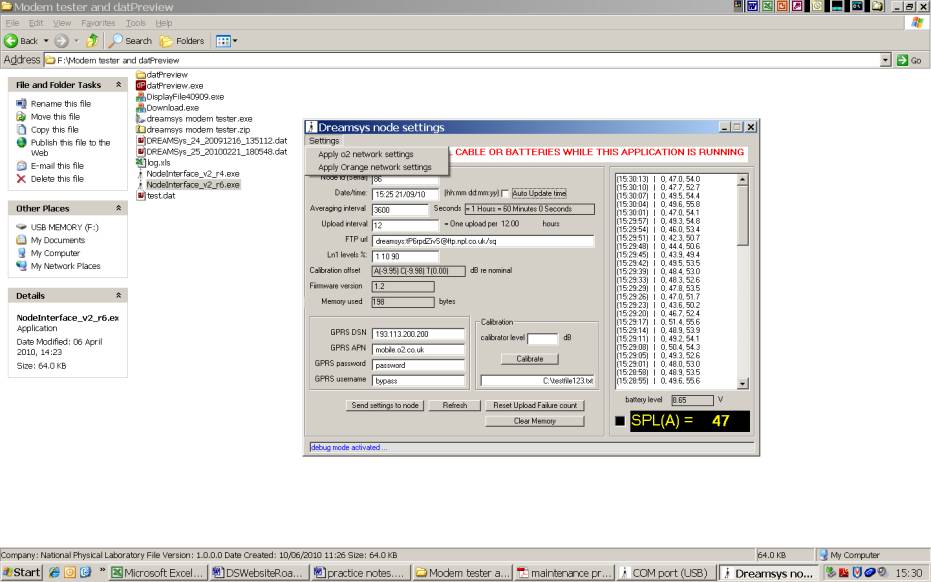
Step 6 of 16: To setup the SIMS card, click the 'Settings' at the top left corner, and a pull-down manual will show. Then, select the mobile network provider. The default choice is either Orange or O2; these network providers were tested thoroughly. The modem doesn't seem to support other mobile service providers such as Vodafone, 3, Tesco, T-Mobile. The associated DSN and APN settings and password and username for Orange and O2 are as follows:
| Mobile network | Orange | O2 |
| GPRS DSN | 158.43.128.1 | 193.11.200.200 |
| GPRS APN | orangeinternet | Mobile.o2.co.uk |
| Password | pass | bypass |
| Username | user | bypass |
Click 'Send setting to node' once changes have been made. Don't do anything afterwards and just wait until the small
window to the right displaying the real time output from the node. If it is just RUNNING without output, click Refresh.
Step 7 of 16: To set time, check Auto Update time, then click 'Send setting to node'.
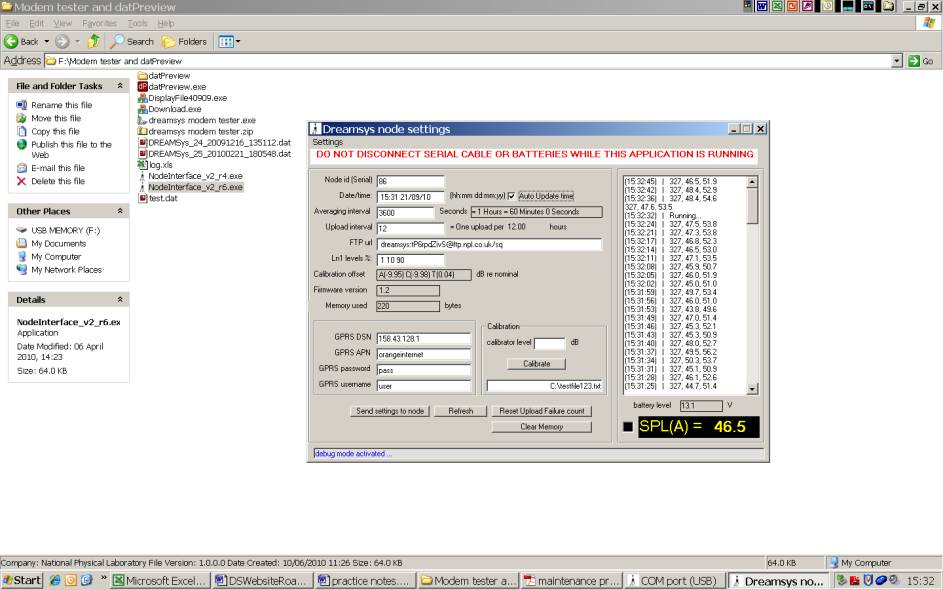
Step 8 of 16: To set averaging time (T), enter the value in seconds. For example, 600 = 10 minutes. The value of T must be equal to or greater than 1 minute. The same screenshot above shows that the averaging time is set to 1 hour, and using Orange as the mobile network.
Step 9 of 16: To set upload interval in hours, enter the value 'N' as an integer. Then, click 'Send setting to node'. For a given averaging time (T mins), the upload interval = N x T / 60.
Example (1): T=10 minutes, the upload interval is 0.5 hours for N=3, 1 hour for N=6, 2 hours for N=12, and so on.
Example (2): T=1 hour, the upload interval is 1 hour for N=1, 6 hours for N=6, 12 hours for N=12, and so on.
Step 10 of 16: To set the parameters for measuring the statistical noise levels Ln, enter value between 1 to 99. One must enter three numbers, each separated by one space. For example, the sequence of 1 10 90 refers to L99, L90 and L10, respectively. To save the changes, click 'Send setting to node'. In case the order is reverse, e.g. 90 10 1, it refers to L10, L90 and L99 respectively.
Step 11 of 16: Set path of the ftp server. The default NPL's server is dreamsys:tP6rpdZivS@ftp.npl.co.uk/folder name*. The url path and folder name are to be assigned by the user. The screenshot below shows that the folder name is 'test123'
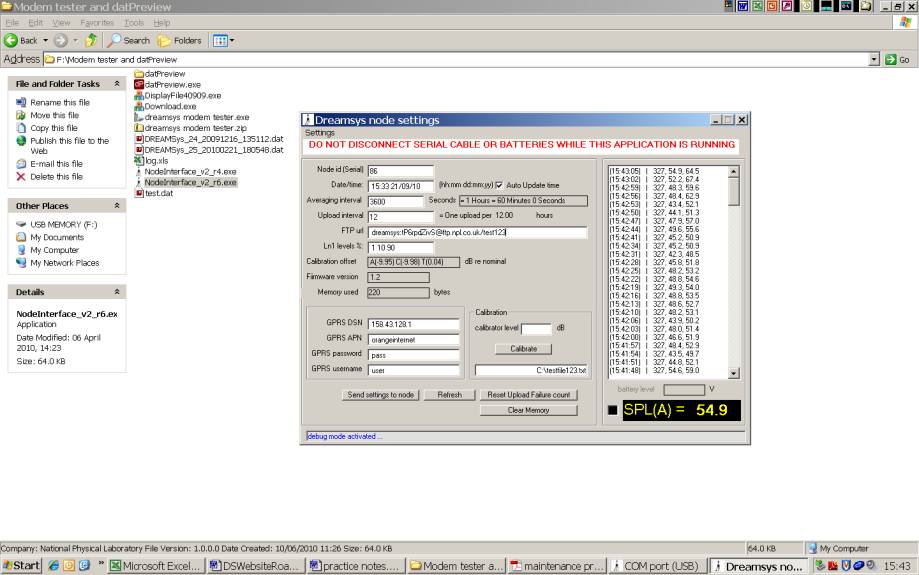
Step 12 of 16: After any changes, click 'Send setting to node'. Once it is done, click Refresh. Dont do anything afterwards and just wait until the small window to the right displaying the real time output from the unit. If it is just running without output, click Refresh and wait until the process finishes.
Step 13 of 16: During the programming, the green light should be blinking at all times with a pattern of 1-2-3-pause, and repeats. If the light is stationary, click refresh or unplug and reconnect the battery. You must terminate the program before disconnecting the extension cable from the notebook/netbook. Click 'x' at the top right corner of the window in order to exit.
Step 14 of 16: Disconnect the unit from the notebook and reconnect the RS232 connectors in the battery box.
Step 15 of 16: Make sure the battery box is locked.
Step 16 of 16: The end of the procedure.